初始化前端Monorepos项目
【前言】
本文记录初始化一个前端Monorepos项目的过程
【LICENSE】
如果是开源项目,
需要添加LICENSE,
一般推荐使用MIT LICENSE,
模板如下,
MIT License

Copyright (c) 2023 qiaowenbin<uikoo9@qq.com>

Permission is hereby granted, free of charge, to any person obtaining a copy
of this software and associated documentation files (the "Software"), to deal
in the Software without restriction, including without limitation the rights
to use, copy, modify, merge, publish, distribute, sublicense, and/or sell
copies of the Software, and to permit persons to whom the Software is
furnished to do so, subject to the following conditions:

The above copyright notice and this permission notice shall be included in all
copies or substantial portions of the Software.

THE SOFTWARE IS PROVIDED "AS IS", WITHOUT WARRANTY OF ANY KIND, EXPRESS OR
IMPLIED, INCLUDING BUT NOT LIMITED TO THE WARRANTIES OF MERCHANTABILITY,
FITNESS FOR A PARTICULAR PURPOSE AND NONINFRINGEMENT. IN NO EVENT SHALL THE
AUTHORS OR COPYRIGHT HOLDERS BE LIABLE FOR ANY CLAIM, DAMAGES OR OTHER
LIABILITY, WHETHER IN AN ACTION OF CONTRACT, TORT OR OTHERWISE, ARISING FROM,
OUT OF OR IN CONNECTION WITH THE SOFTWARE OR THE USE OR OTHER DEALINGS IN THE
SOFTWARE.
其中copyright那一行,
可以替换为自己的信息。
【git】
git的一些基础设置
设置git账号信息
git config user.name xxx
git config user.email xxx
配置gitignore
可以根据自己的需要配置,
也可以参考这里的模板,
https://github.com/github/gitignore
本文选取了3个gitignore,
https://github.com/github/gitignore/blob/main/Global/macOS.gitignore
https://github.com/github/gitignore/blob/main/Global/VisualStudioCode.gitignore
https://github.com/github/gitignore/blob/main/Node.gitignore
【初始化package.json】
使用下面的命令,初始化package.json
npm initmonorepos外层的package.json
{
  "name": "",
  "private": true,
  "scripts": {},
  "devDependencies": {}
}
packages中单个包的package.josn
{
"name": "",
"version": "",
"description": "",
"keywords": [],
"author": "",
"homepage": "",
"license": "MIT",
"main": "index.js",
"repository": {
"type": "git",
"url": "git+https://github.com/xx/xx.git"
},
"bugs": {
"url": "https://github.com/xx/xx/issues"
},
"scripts": {}
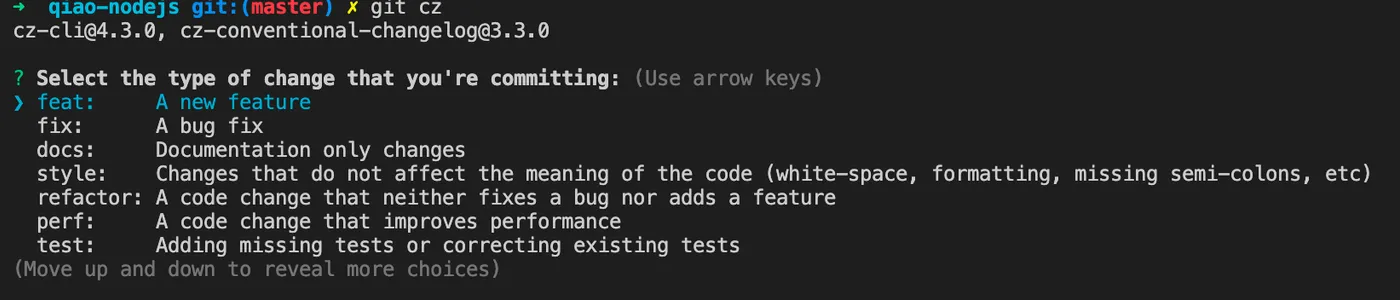
}【commitizen】
使用commitizen可以提交规范的commit,
详见:规范的代码提交:Conventional Commits
全局安装commitizen
# 安装commitizen,安装后使用git cz替代git commit即可提交符合约定的commit
npm i -g commitizen
安装cz-conventional-changelog规范
# 告诉commitizen使用哪个规范
npm i -D cz-conventional-changelog
echo '{ "path": "cz-conventional-changelog" }' > .czrc
到此可以使用git cz命令提交commit,
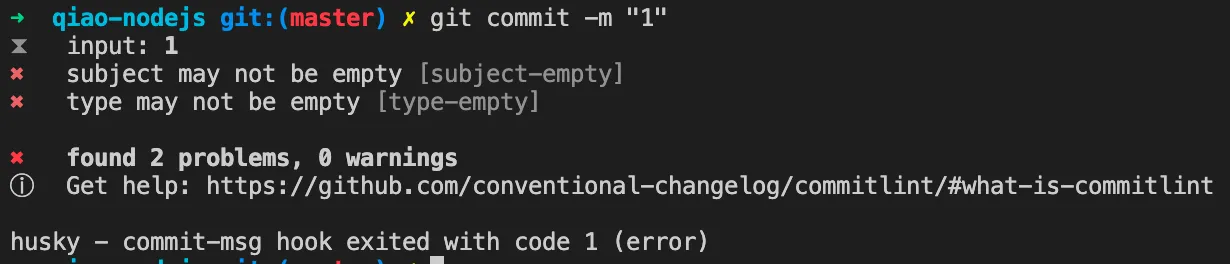
【commitlint】
使用husky+commitlint可以校验每次提交的commit是否符合规范,
安装husky
# 安装husky,安装后即可通过husky配置一些git hooks
npm i -D husky

# 注册husky
npx husky install

# 添加husky的prepare脚本,目的是让其他用户在执行完npm i后自动注册husky
npm pkg set scripts.prepare="husky install"

# 上述命令在有的npm版本不支持,可以手动在package.json中添加如下脚本
"prepare": "husky install",
安装commitlint
# 安装commitlint
npm i -D @commitlint/config-conventional @commitlint/cli

# 通过husky添加commitlint的git hook
npx husky add .husky/commit-msg 'npx --no -- commitlint --edit "$1"'

# 添加commitlint.config.js配置文件
echo "module.exports = {extends: ['@commitlint/config-conventional']};" > commitlint.config.js
到这里,如果提交不规范的commit,就会拦截和提示,
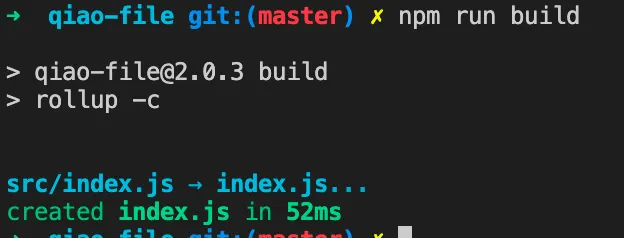
【rollup】
使用rollup构建es6文件
安装
npm i -D rollup配置
在packages/xx下添加rollup.config.js
/**
 * rollup.config.js
 */
module.exports = {
  input: 'src/index.js',
  output: {
    file: 'index.js',
    format: 'cjs',
  },
  external: ['fs', 'fs-extra', 'path', 'readline'],
};
修改package.json
修改packages/xx/package.json,添加以下内容
{
  "main": "index.js",
  "module": "src/index.js",
  "sideEffets": false,
  "files": [
    "src"
  ],
  "scripts": {
    "build": "rollup -c",
  },
}
构建
【ava】
使用ava管理测试用例
详见: 小巧的JS测试框架:AVA
安装
npm i -D ava配置
在packages/xx下添加ava.config.js
/**
 * ava config
 *  https://github.com/avajs/ava/blob/main/docs/06-configuration.md
 */
module.exports = {
  files: ['__tests__/ava/**/*'],
  failFast: true,
  failWithoutAssertions: false,
  concurrency: 2,
};
修改package.json
修改packages/xx/package.json,添加以下内容
{
  "scripts": {
    "test": "ava"
  },
}
测试
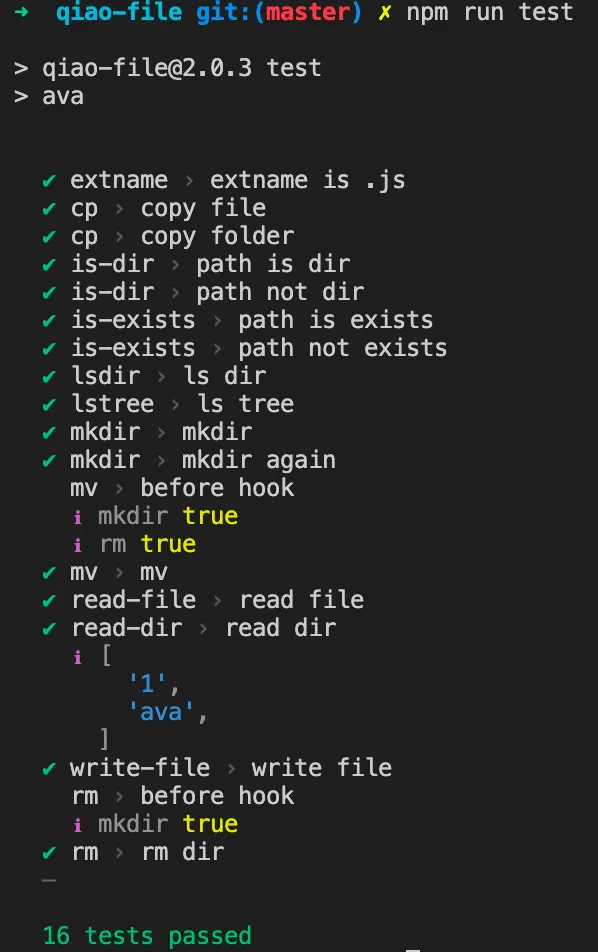
【lerna】
使用lerna来管理monorepos项目,
安装
npm i -D lerna配置文件
创建lerna.json文件,内容如下
{
  "$schema": "node_modules/lerna/schemas/lerna-schema.json",
  "packages": ["packages/*"],
  "version": "independent",
  "command": {
    "version": {
      "allowBranch": "master"
    },
    "publish": {
      "allowBranch": "master",
      "message": "chore(release): publish"
    }
  }
}
修改package.json
修改外层package.json,添加以下内容
{
  "scripts": {
    "build": "lerna run build",
    "test": "lerna run test"
  },
}
使用lerna执行任务
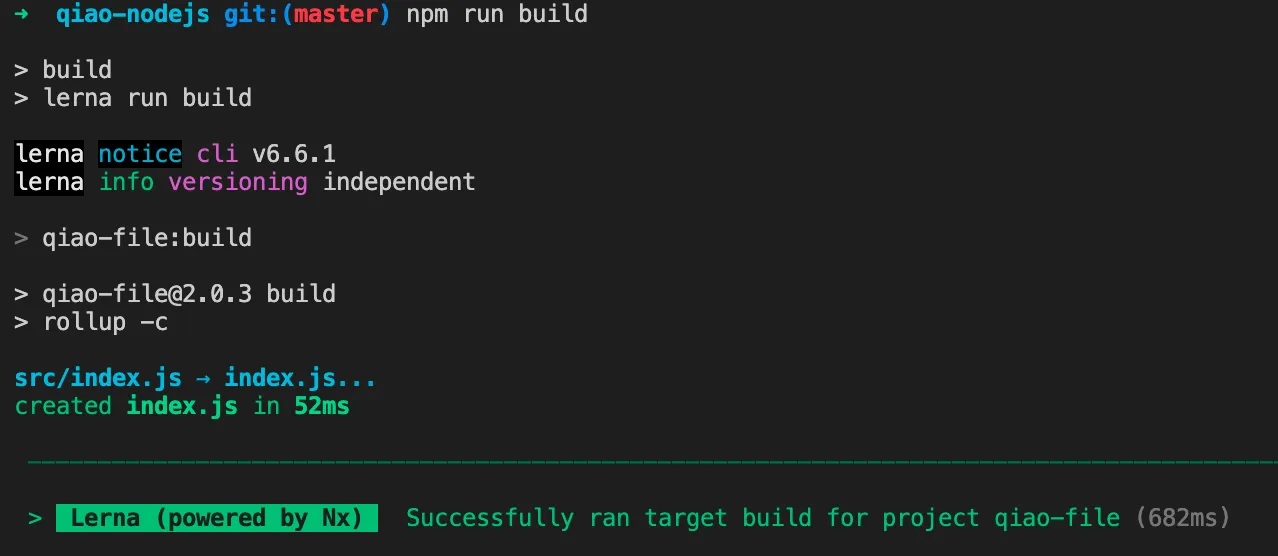
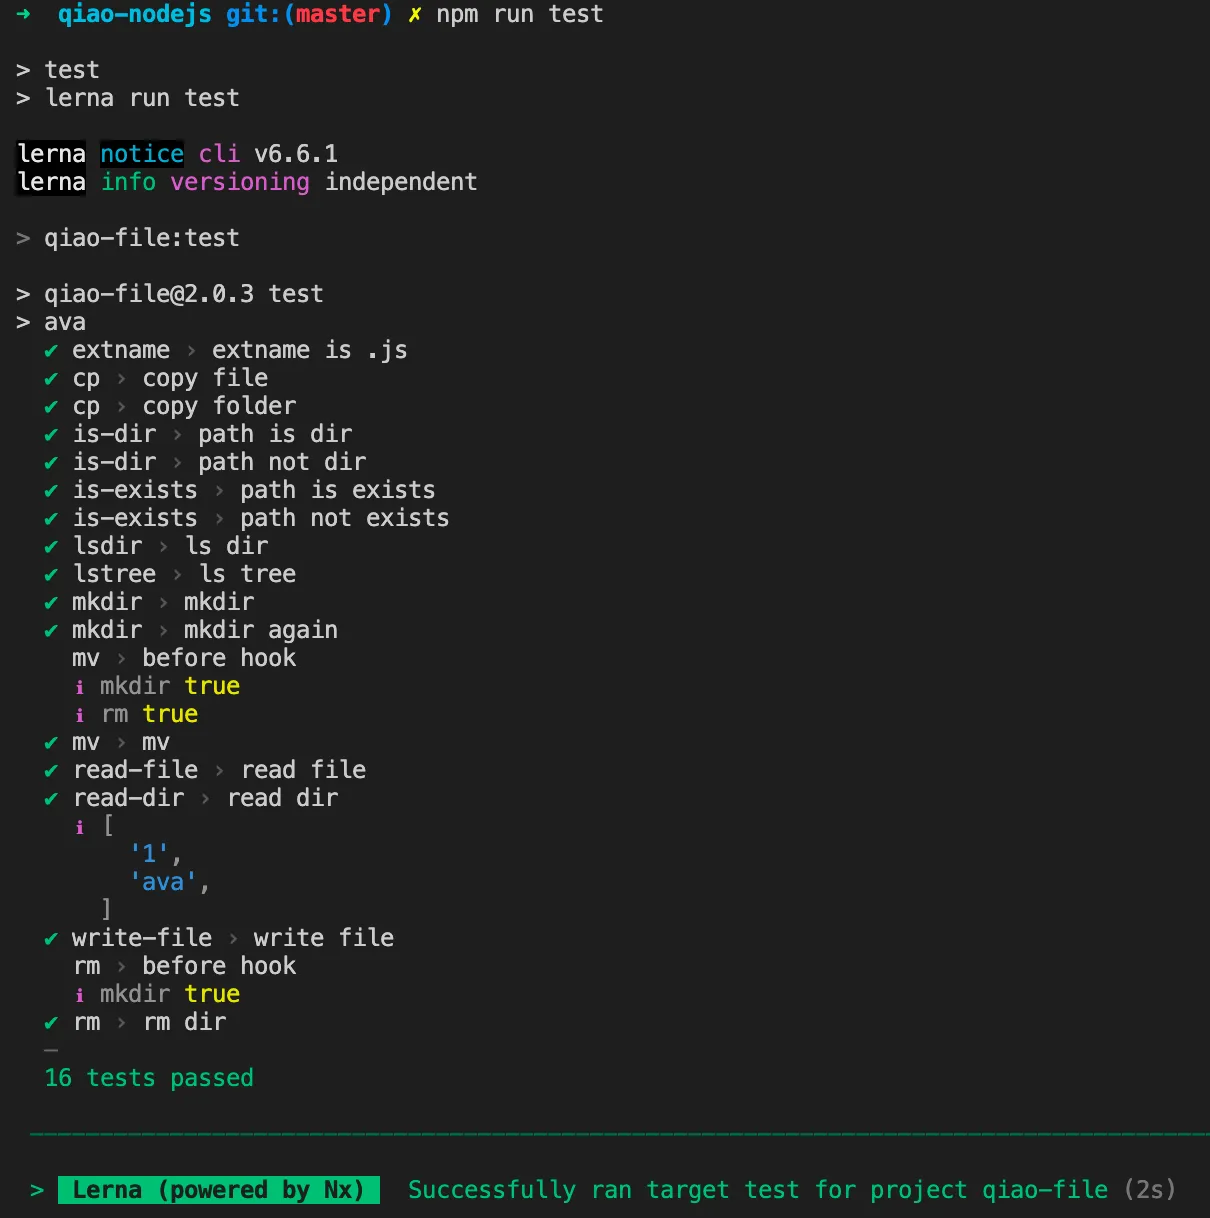
使用lerna执行packages下命令
build
test
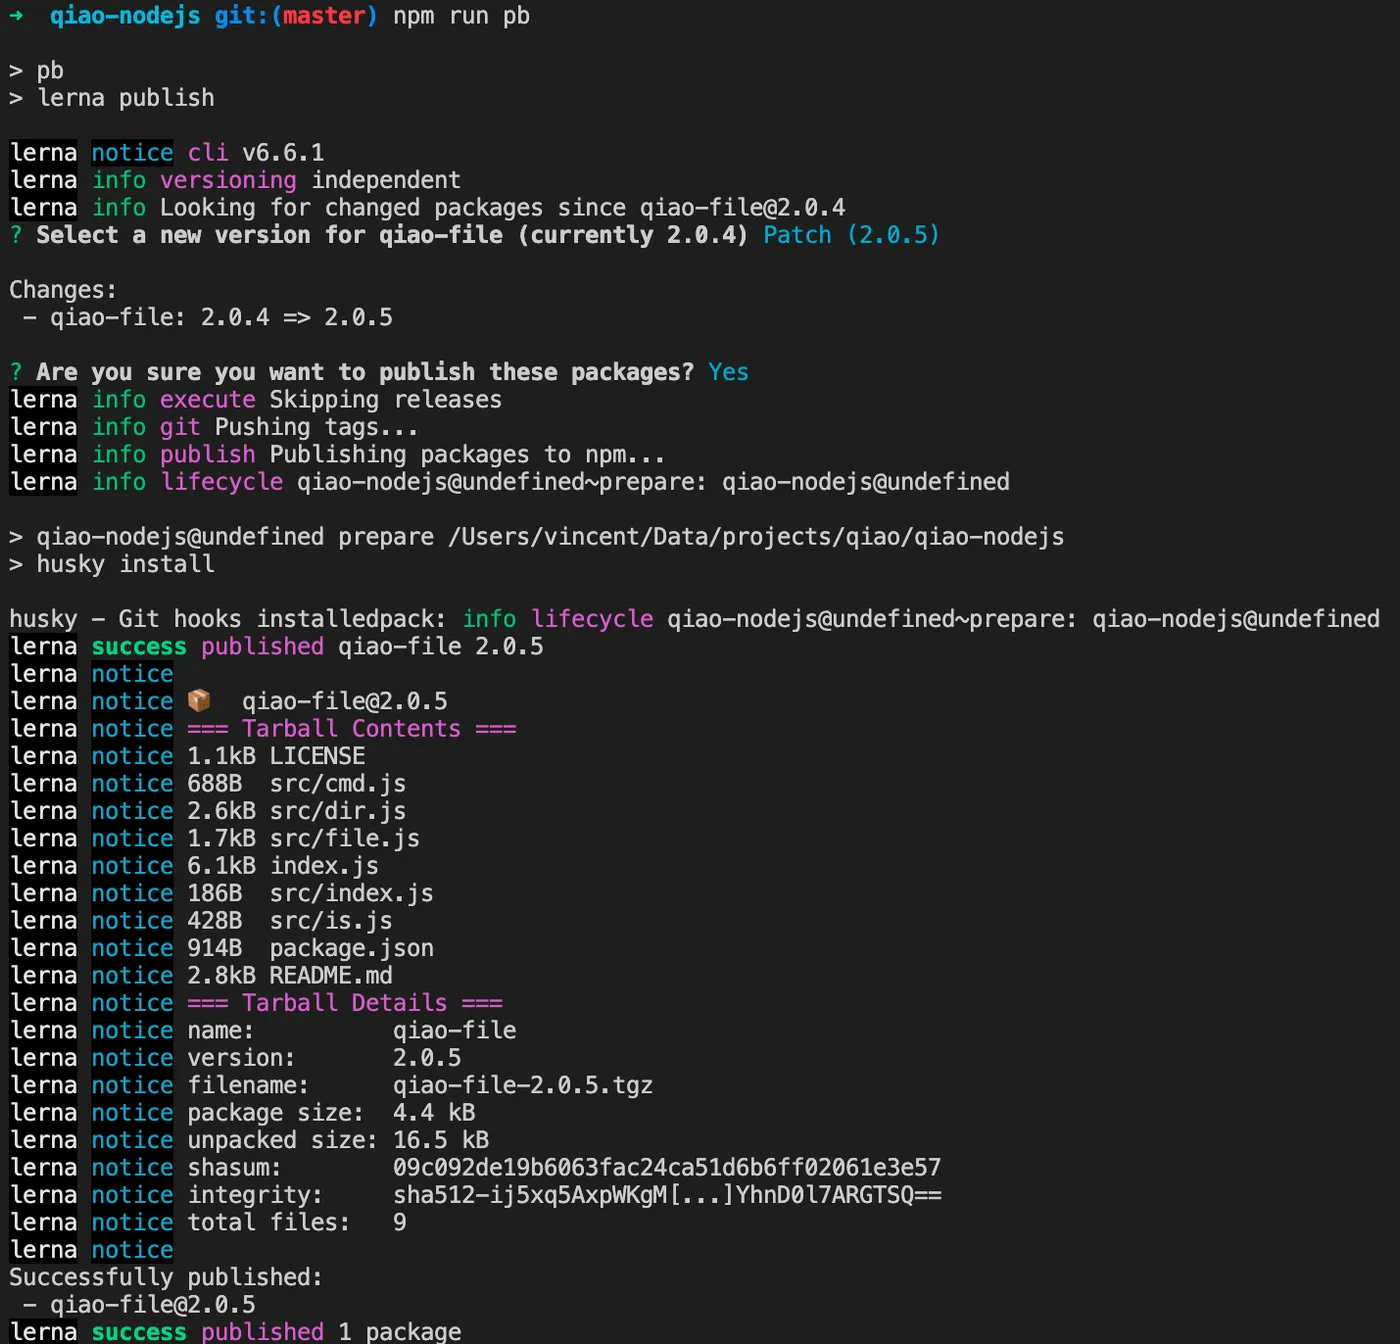
使用lerna发布npm
外层package.json添加如下信息
{
  "scripts": {
    "pb": "lerna publish"
  },
}
执行publish命令,如下
【nx】
使用nx管理任务缓存
详见: 强大的构建系统:NX
安装
由于lerna基于nx,
所以安装过lerna的,
无需再次安装nx
配置文件
在外层添加nx.json,内容如下
{
  "tasksRunnerOptions": {
    "default": {
      "runner": "nx/tasks-runners/default",
      "options": {
        "cacheableOperations": ["build"]
      }
    }
  },
  "targetDefaults": {
    "build": {
      "dependsOn": ["^build"]
    },
    "test": {
      "dependsOn": ["build"]
    }
  },
  "defaultBase": "master"
}
修改package.json
修改packages/xx/package.json,添加如下内容
{
  "nx": {
    "namedInputs": {
      "default": [
        "{projectRoot}/src/**/*"
      ]
    },
    "targets": {
      "build": {
        "inputs": [
          "default"
        ],
        "outputs": [
          "{projectRoot}/index.js"
        ]
      }
    }
  },
}
使用nx
再次执行lerna的test命令

可以看到自动执行的依赖的build命令,
且build命令命中了本地缓存。
【prettier】
使用prettier来格式化代码
安装
npm i -D prettier配置文件
在外层创建.prettierrc.json
{
  "printWidth": 120,
  "tabWidth": 2,
  "useTabs": false,
  "semi": true,
  "singleQuote": true,
  "quoteProps": "as-needed",
  "jsxSingleQuote": false,
  "trailingComma": "all",
  "bracketSpacing": true,
  "arrowParens": "always",
  "requirePragma": false,
  "insertPragma": false,
  "proseWrap": "preserve",
  "htmlWhitespaceSensitivity": "css",
  "vueIndentScriptAndStyle": false,
  "endOfLine": "lf",
  "embeddedLanguageFormatting": "auto"
}
在外层创建.prettierignore
# project
package-lock.json

# packages
packages/qiao-file/__tests__/1
修改package.json
修改外层的package.json,添加如下内容
{
"scripts": {
"prettier": "prettier --write .",
},
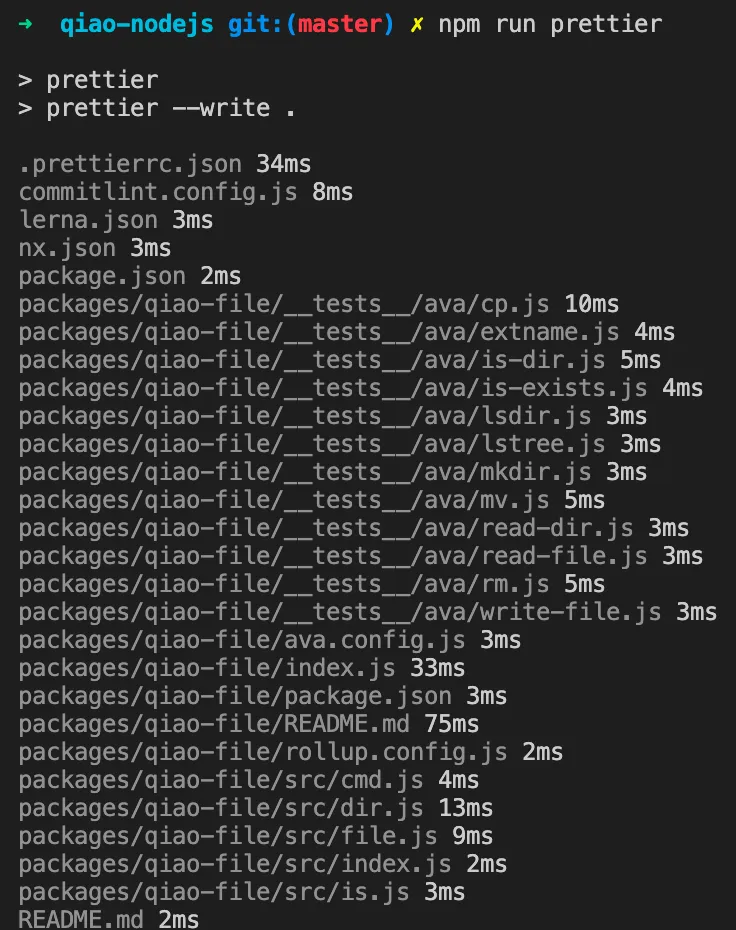
}执行prettier
【eslint】
使用eslint来检查代码错误
安装
npm i -D eslint配置文件
在外层添加.eslintrc.js
module.exports = {
  env: {
    browser: true,
    node: true,
    commonjs: true,
    es2022: true,
  },
  extends: ['eslint:recommended', 'plugin:react/recommended', 'plugin:react-hooks/recommended', 'prettier'],
  parserOptions: {
    ecmaVersion: 'latest',
    sourceType: 'module',
  },
  ignorePatterns: ['dist'],
  rules: {
    indent: ['error', 2, { SwitchCase: 1 }],
    'linebreak-style': ['error', 'unix'],
    quotes: ['error', 'single'],
    semi: ['error', 'always'],
  },
};
在外层添加.eslintignore
# project
node_modules
package-lock.json

# packages
packages/qiao-file/__tests__/1
修改package.json
修改外层package.josn,添加如下内容:
{
"scripts": {
"eslintfix": "eslint . --ext .js --fix",
},
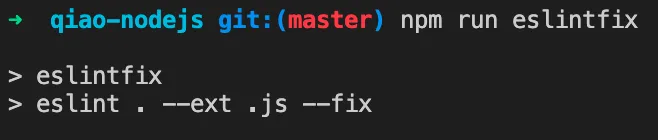
}执行eslint
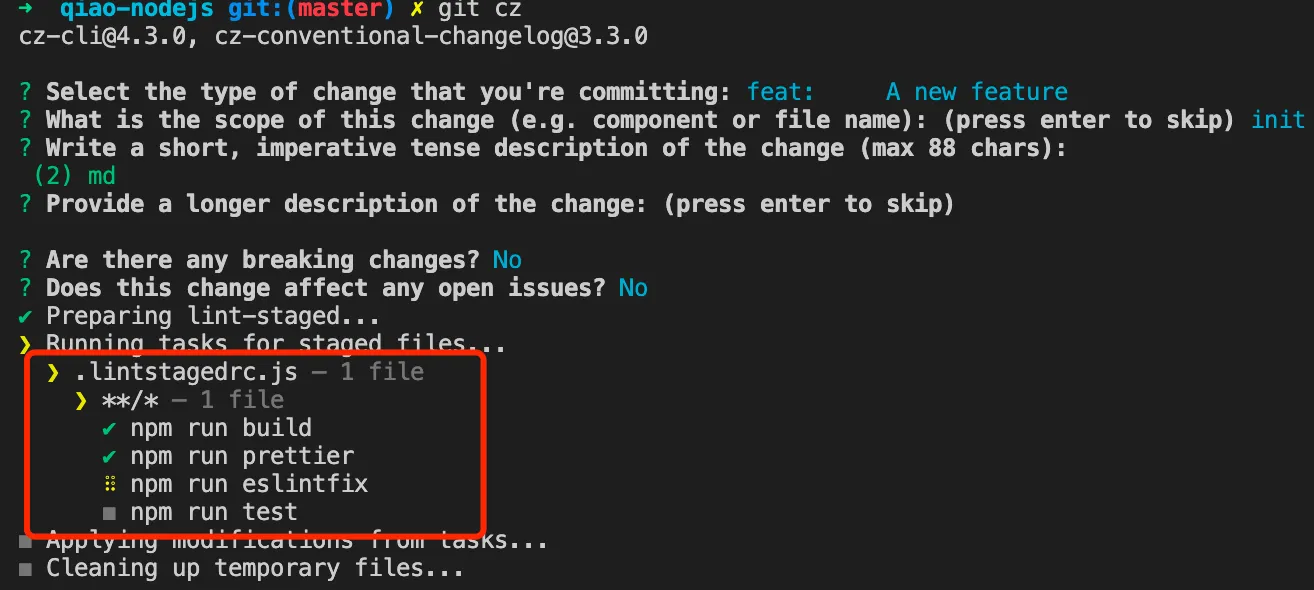
【lint-staged】
使用lint-staged在commit前检查代码
安装
npm i -D lint-stagedhusky添加钩子
npx husky add .husky/pre-commit "npx lint-staged"配置文件
在项目根路径下创建lint-staged的配置文件.lintstagedrc.js
module.exports = {
  '**/*': () => ['npm run build', 'npm run prettier', 'npm run eslintfix', 'npm run test'],
};
效果