Learn IndexedDB in One Article

Introduction
IndexedDB is a database that can be used directly on the web. See: https://developer.mozilla.org/zh-CN/docs/Web/API/IndexedDB_API
IndexedDB vs LocalStorage
Previously we covered LocalStorage: Learn localStorage in One Article
In most scenarios, LocalStorage is sufficient, but it still has some limitations.
Here’s a comparison between IndexedDB and LocalStorage:
Storage Size
|—LocalStorage: 5 MB max
|—IndexedDB: 250 MB+
Database Features
|—LocalStorage: Only stores data, no other features
|—IndexedDB: Full database features — databases, tables, primary keys, indexes, sorting, etc.
Sync vs Async
|—LocalStorage: Synchronous operations
|—IndexedDB: Asynchronous operations
Quick Summary
|—LocalStorage is just local storage, similar to reading and writing a small file.
|—IndexedDB is a web-based database supporting data storage and retrieval, search, sorting, transactions, and more — with much larger capacity.
IndexedDB: Databases and Tables
Similarly, since IndexedDB is very powerful,
it’s slightly more complex to use and requires some basic database knowledge.
Creating a Database
To work with IndexedDB, you first need a database. Here’s the code to create one:
window.indexedDB.open(databaseName);If the table structure has changed, you need to pass a new version to recreate it:
window.indexedDB.open(databaseName, version);The resulting db object is available in the onsuccess or onupgradeneeded callback. The full code:
/**
* open db
* @param {*} databaseName
* @param {*} version
* @returns
*/
export const openDB = (databaseName, version) => {
return new Promise((resolve, reject) => {
const request = version ? window.indexedDB.open(databaseName, version) : window.indexedDB.open(databaseName);
request.onerror = (event) => {
reject(event.target.error);
};
request.onsuccess = () => {
resolve(request.result);
};
request.onupgradeneeded = (event) => {
resolve(event.target.result);
};
});
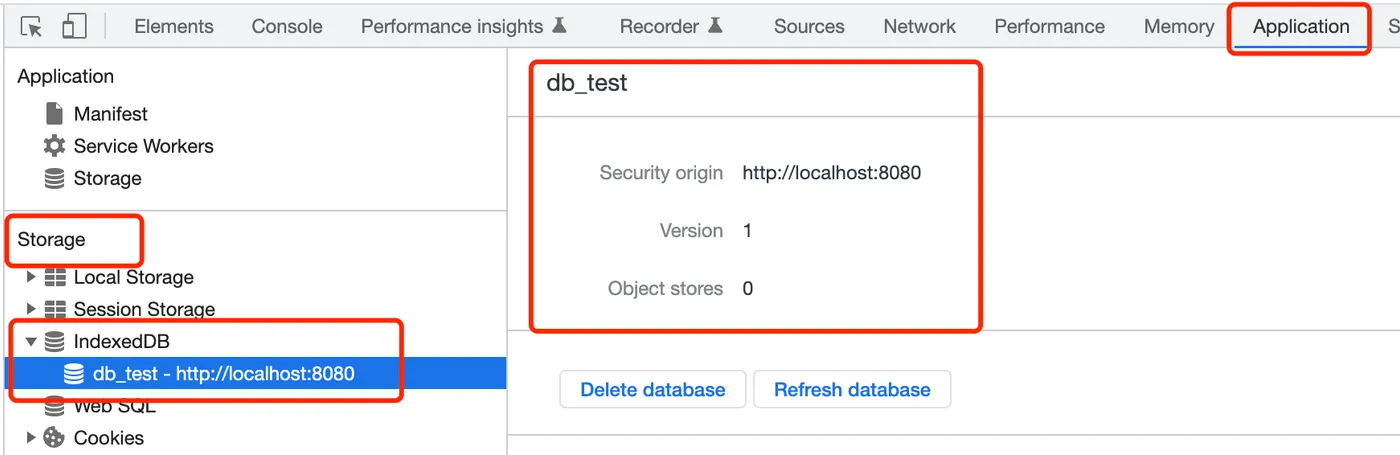
};After creation, you can see the database in Chrome DevTools under Application - Storage - IndexedDB:
Listing Databases
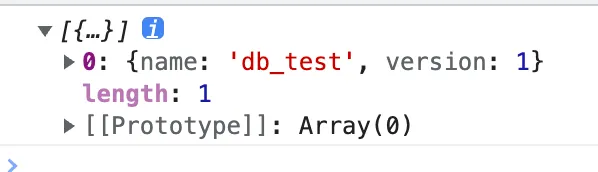
After creation, you can query the existing databases:
indexedDB.databases();This returns a list of local databases:
Deleting a Database
When a database is no longer needed, you can delete it:
indexedDB.deleteDatabase(databaseName);Creating a Table
Once you have a database, you can create tables:
db.createObjectStore(table.name, key);You need to pass the table name and key.
Creating an Index
After creating a table, you can create indexes:
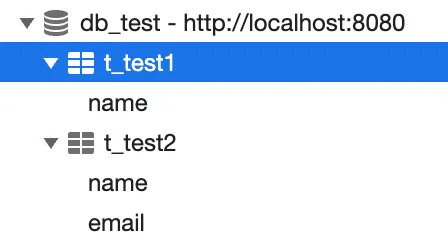
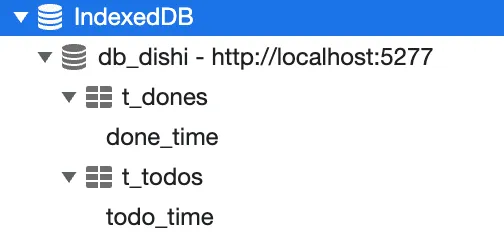
os.createIndex(name, index, { unique: unique });After creating tables and indexes, they will appear under the database:
Deleting a Table
Deleting a table is straightforward:
db.deleteObjectStore(tableName);IndexedDB: Data Operations
Once the database and tables are created, you can start working with data.
Adding Data
First create a transaction, then add data:
const tx = db.transaction([tableName], 'readwrite');
const request = tx.objectStore(tableName).add(data);
Updating Data
Similarly, create a transaction and update data:
const tx = db.transaction([tableName], 'readwrite');
const request = tx.objectStore(tableName).put(data);
Getting Data
Create a transaction and get data:
const tx = db.transaction([tableName], 'readonly');
const request = tx.objectStore(tableName).get(key);
Data stored in the database looks like this:

Deleting Data
You can also delete data:
const tx = db.transaction([tableName], 'readwrite');
const request = tx.objectStore(tableName).delete(key);
Clearing Data
const tx = db.transaction([tableName], 'readwrite');
const request = tx.objectStore(tableName).clear();
Getting All Data
You can also get all data by a specific index:
const tx = db.transaction([tableName], 'readonly');
const os = tx.objectStore(tableName);
const index = os.index(indexName);
const request = index.getAll();
qiao.db.js
I’ve packaged this into an npm module. Feel free to use it: https://code.insistime.com/#/qiao.db.js
|—Encapsulates database and table operations
|—Encapsulates data operations
Building a Todolist
Previously, we built a todolist using LocalStorage.
Article: Build a Todolist in One Article
Demo: https://insistime.com/dishi-ls
Code: https://github.com/uikoo9/dishi-monorepo/tree/localstorage
The functionality is simple — add todos and click to complete them:
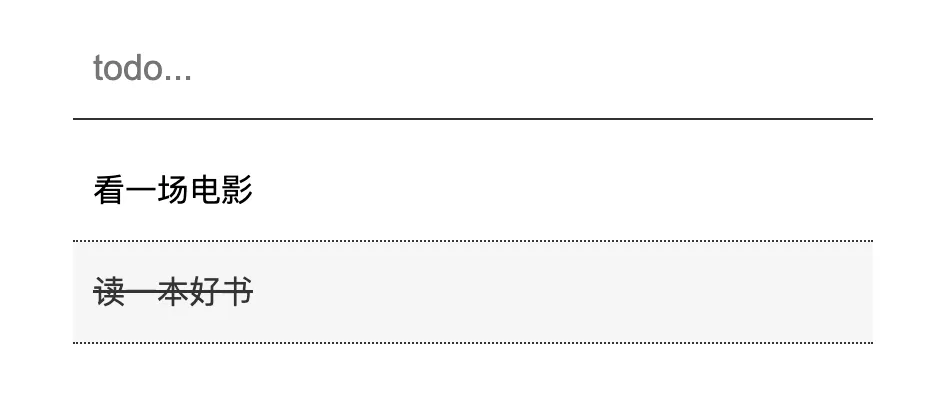
Since LocalStorage lacks database features,
operations like sorting are cumbersome.
Here we’ll refactor it using IndexedDB.
Table Structure
First, design a simple table structure:
db_dishi
    |-- t_todos
        |--create_time
        |--todo_content
        |--todo_time
    |--t_dones
        |--done_time
        |--todo_content
        |--todo_time
Where:
Database: db_dishi
Table t_todos: todo list, with create_time as primary key, todo_content for content, todo_time for the scheduled time
Table t_dones: done list, with done_time as primary key, todo_content for content, todo_time for the scheduled time
Creating the Database
-
Use the listDB method to get the database list and check if the database already exists
-
Use the openDB method to create the database
const dbName = 'db_dishi';

// check
const dbs = await listDB();
if (dbs && dbs.length && dbs[0].name == dbName) return;

// db
const db = await openDB(dbName);
Creating Tables
-
Use the createTable method to create tables
-
Table t_todos
// table
const tableTodos = 't_todos';
const tableDones = 't_dones';
const tables = [
  {
    name: tableTodos,
    key: 'create_time',
    index: [
      {
        name: 'todo_time',
        index: ['todo_time', 'todo_content'],
        unique: false,
      },
    ],
  },
  {
    name: tableDones,
    key: 'done_time',
    index: [
      {
        name: 'done_time',
        index: ['done_time'],
        unique: false,
      },
    ],
  },
];
await createTable(db, tables);
Table t_todos: primary key is create_time, index todo_time, indexed by todo_time and todo_content fields
Table t_dones: primary key is done_time, index done_time, indexed by done_time field
After creating the database and tables:
Adding Data
- Use the save method to add data
// save
const create_time = Date.now();
const data = {
todo_content: todo_content,
todo_time: todo_time || '_',
create_time: create_time,
};
const db = await openDB(dbName);
const saveRes = await save(db, tableName, create_time, data);
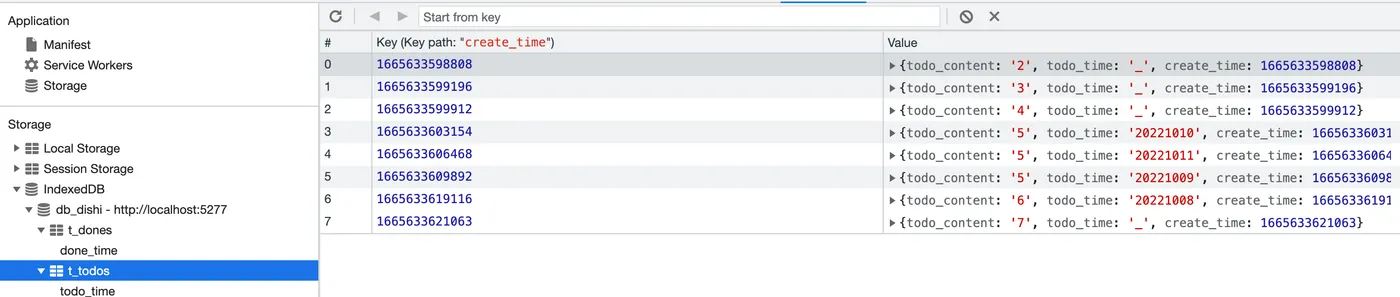
console.log('add todo:', saveRes);After adding some data, you can see it’s sorted by the primary key create_time by default:
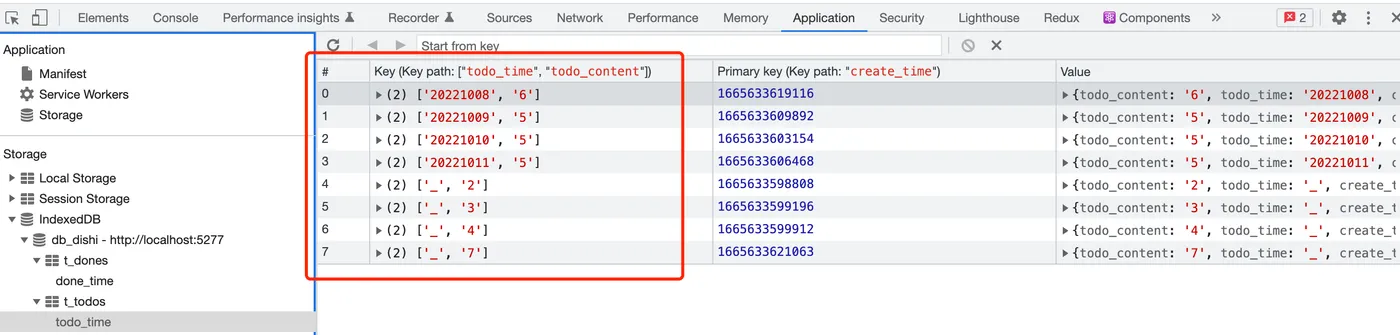
Click the todo_time index to see the data sorted by todo_time and todo_content:
Getting Data
-
Use the getAll method to get all data from the todo_time index
-
This returns data sorted by the todo_time index rules, as shown above
const res = await getAll(db, tableName, 'todo_time');
console.log(res);
Deleting Data
-
Use the get method to retrieve the todo
-
Use the del method to delete the todo
// todo
const db = await openDB(dbName);
const todo = await get(db, tableTodos, key);
// done
const done = {
todo_content: todo.todo_content,
todo_time: todo.todo_time,
done_time: Date.now(),
};
const saveRes = await save(db, tableDones, null, done);
// del
await del(db, tableTodos, key);
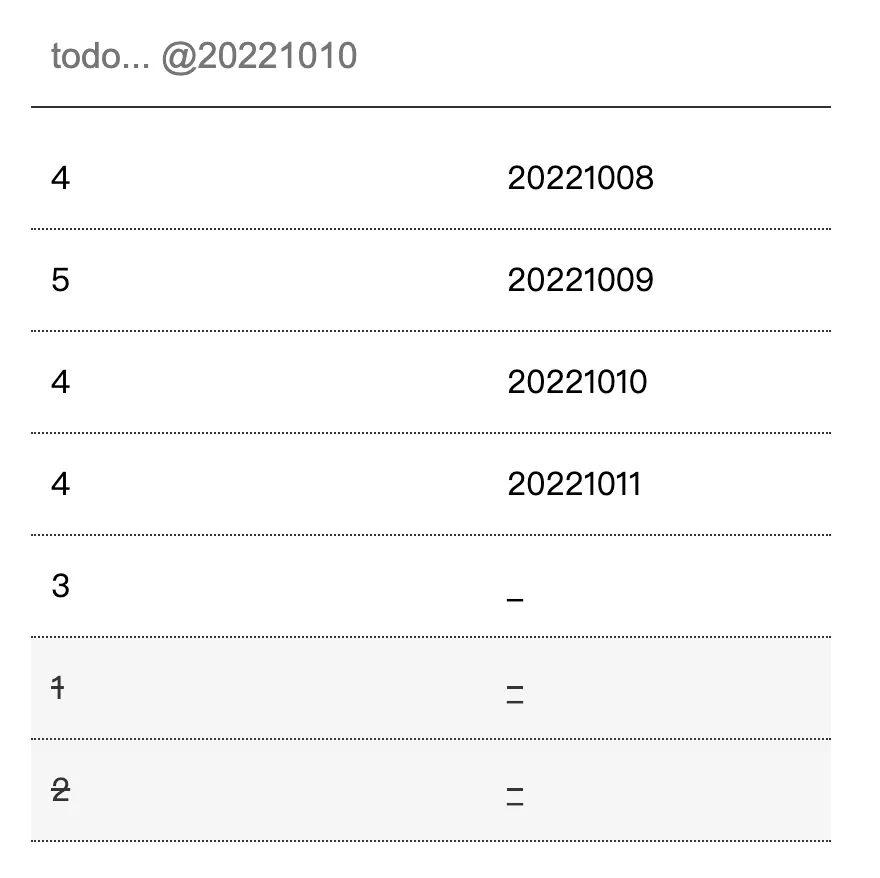
console.log('del todo:', saveRes);Final Result
-
Add a todo
-
Add todo@20221010, recording the scheduled time
-
Click a todo to mark it as done
Code: https://github.com/uikoo9/dishi-monorepo/tree/indexeddb
Live demo: https://insistime.com/dishi-indexeddb
Summary
-
Introduction to IndexedDB
-
Comparison between IndexedDB and LocalStorage
-
IndexedDB database and table operations
-
IndexedDB data operations
-
IndexedDB utility: https://code.insistime.com/#/qiao.db.js
-
Building a todolist with IndexedDB: https://insistime.com/dishi-indexeddb