Electron in Practice: Mac App Signing and Notarization
Preface
Electron in Practice: Local Database SQLite
Electron in Practice: Managing Electron Projects with Monorepo
After developing a desktop app using the articles above,
Electron in Practice: Mac Packaging
and packaging it locally for Mac using this article,
the next step is to distribute your app.
Before distribution, there’s one more step —
signing and notarizing the Mac app.
This article explains how to sign a Mac app.
Before signing, you need to register an Apple Developer account.
See this article:
Electron in Practice: Registering an Apple Developer Account
@electron/osx-sign
This article uses electron-packager to sign Mac apps.
https://github.com/electron/electron-packager
electron-packager handles Electron packaging,
and uses another npm package for signing:
https://github.com/electron/osx-sign
Reading the docs, there’s an important note:
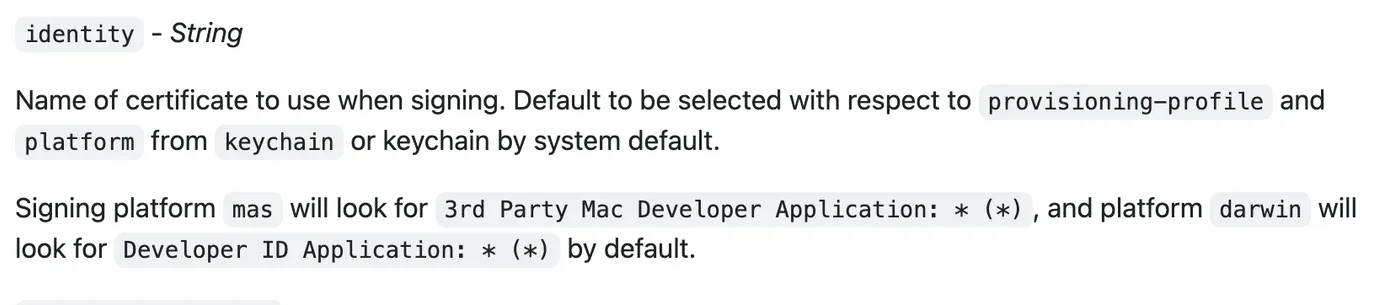
If the target platform is mas (Mac App Store),
the required certificate is: 3rd Party Mac Developer Application: * (*)
If the target platform is darwin (distributed outside the App Store),
the required certificate is: Developer ID Application: * (*)
This is important — it determines which certificate to use.
This article targets the darwin platform.
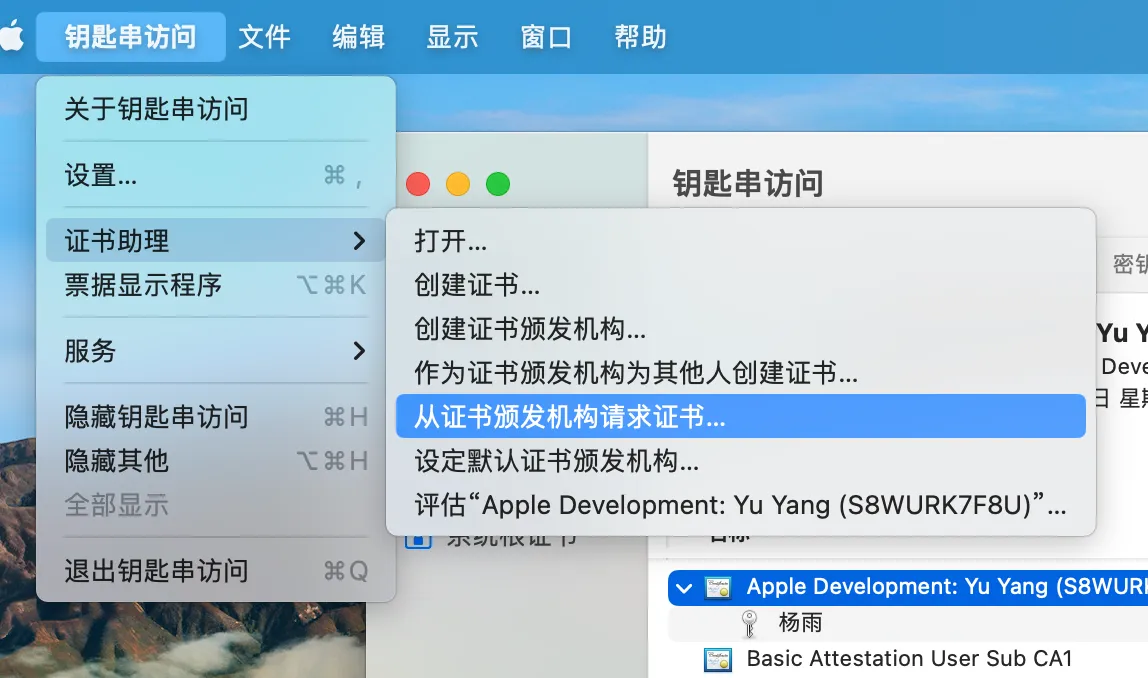
CSR
Before requesting a certificate from the Apple Developer website,
you need to generate a CSR file locally.
Keychain Access — Certificate Assistant — Request a Certificate From a Certificate Authority:
Enter your name and email, and choose to save locally:
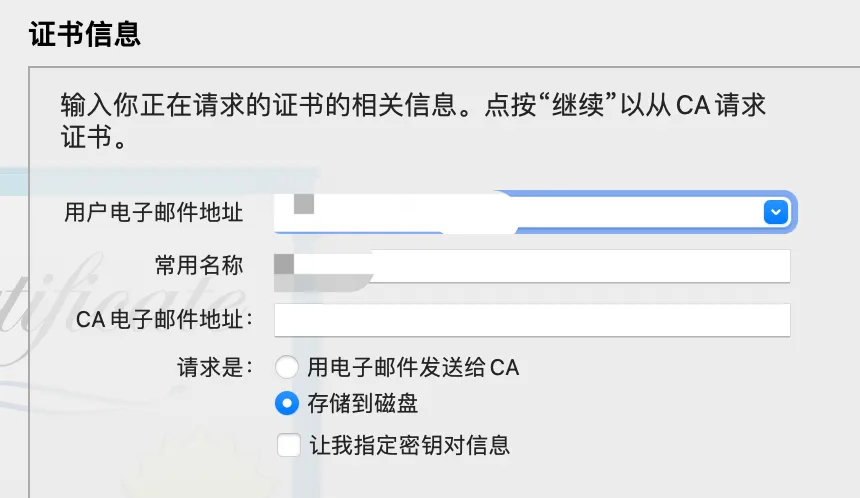
A CSR file will be generated locally:

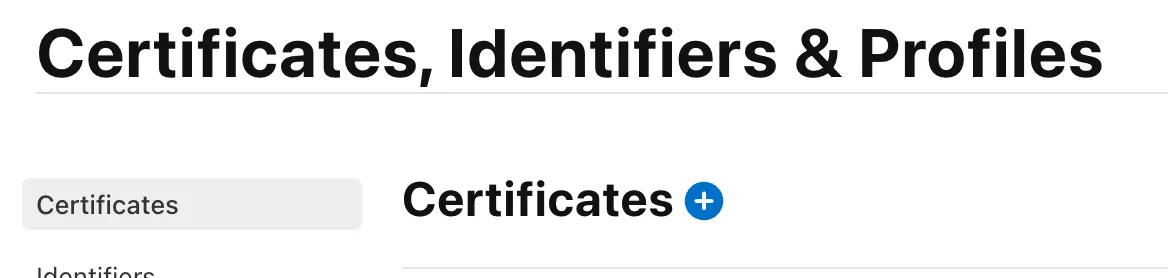
Creating a Certificate
With the CSR file ready, you can create a certificate on the Apple Developer website.
URL: https://developer.apple.com/account/resources/certificates/list
Click the plus button to create a certificate:
Based on our earlier conclusion, the certificate type needed is: Developer ID Application: * (*)
That’s the last option:
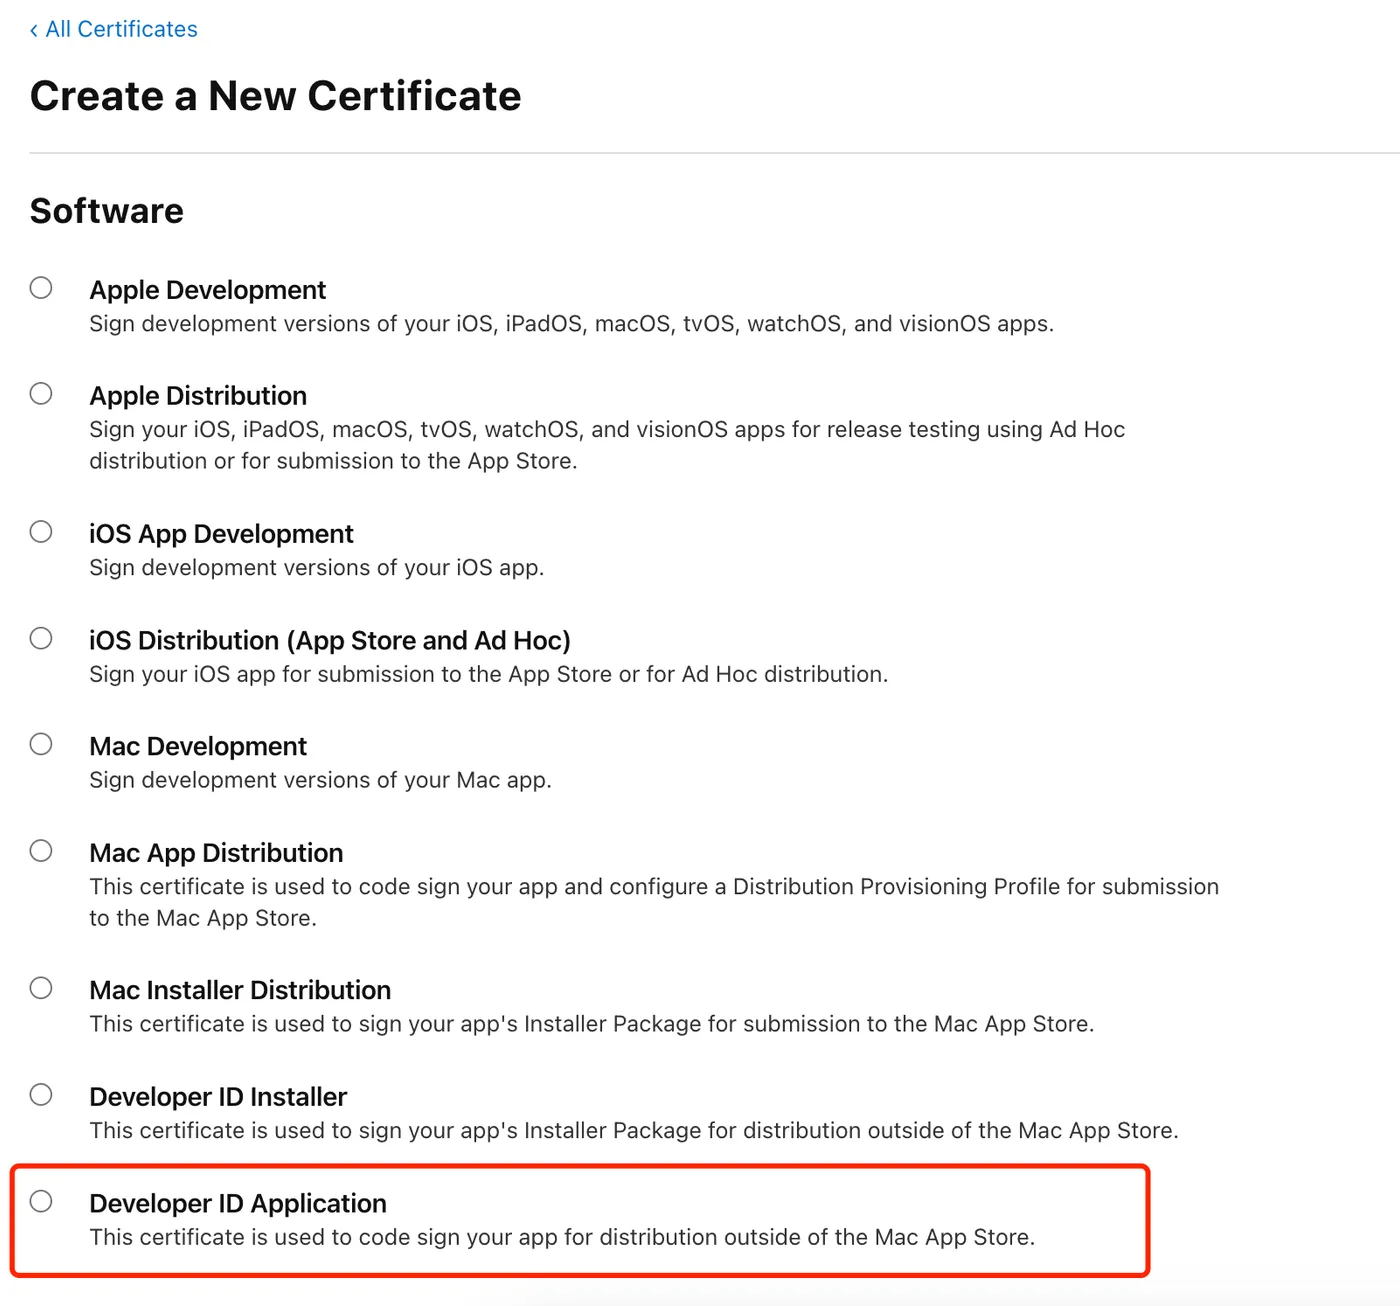
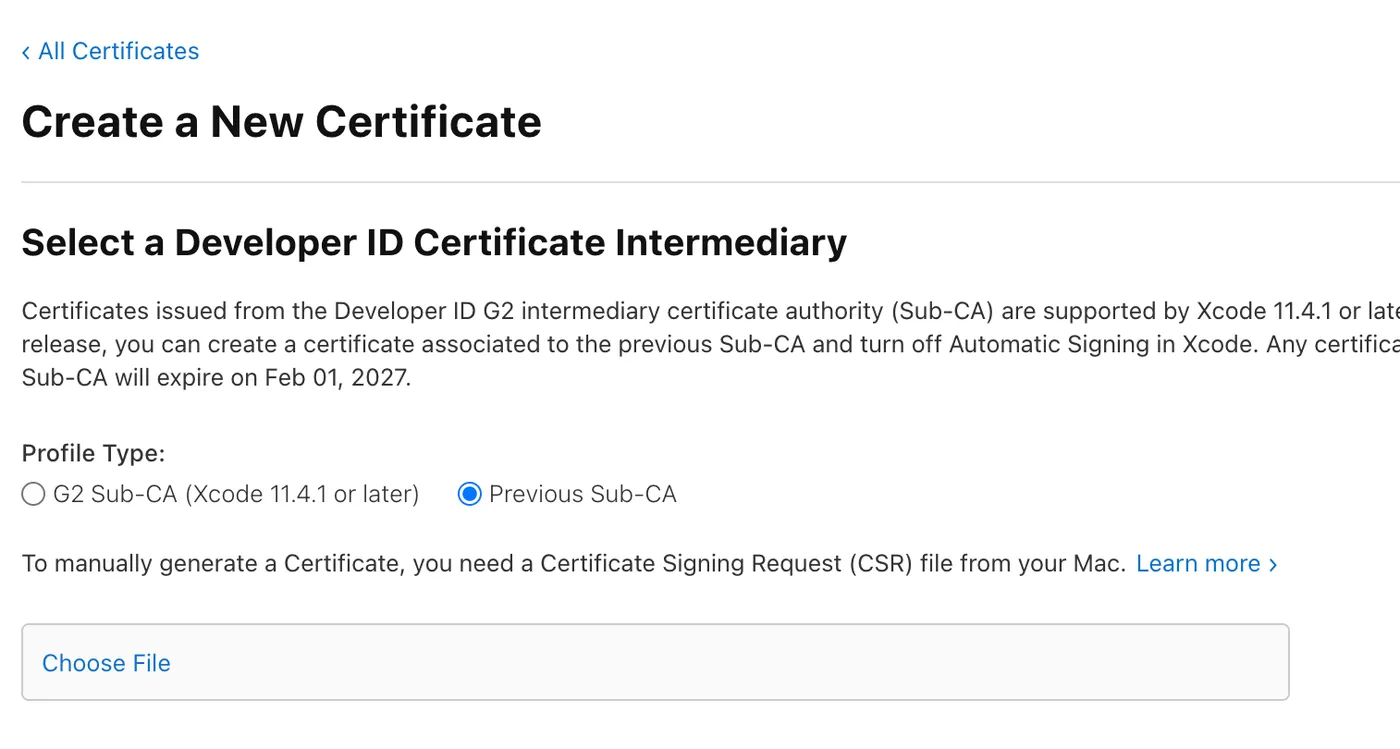
Then follow the prompts and select the CSR file you prepared:
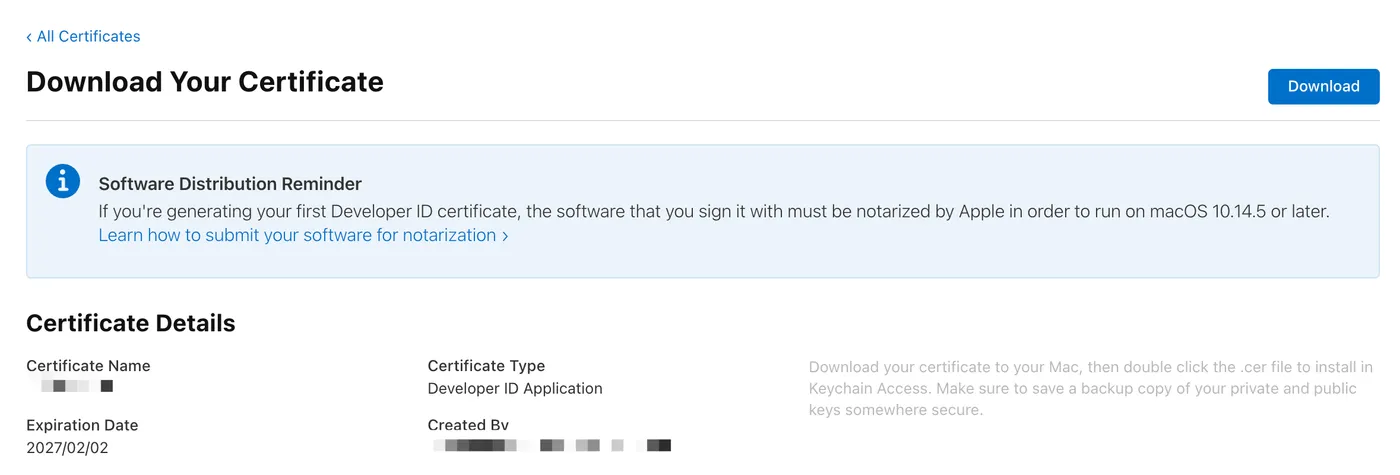
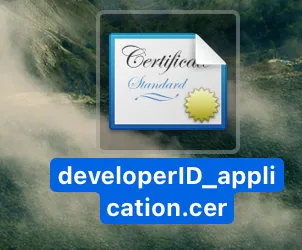
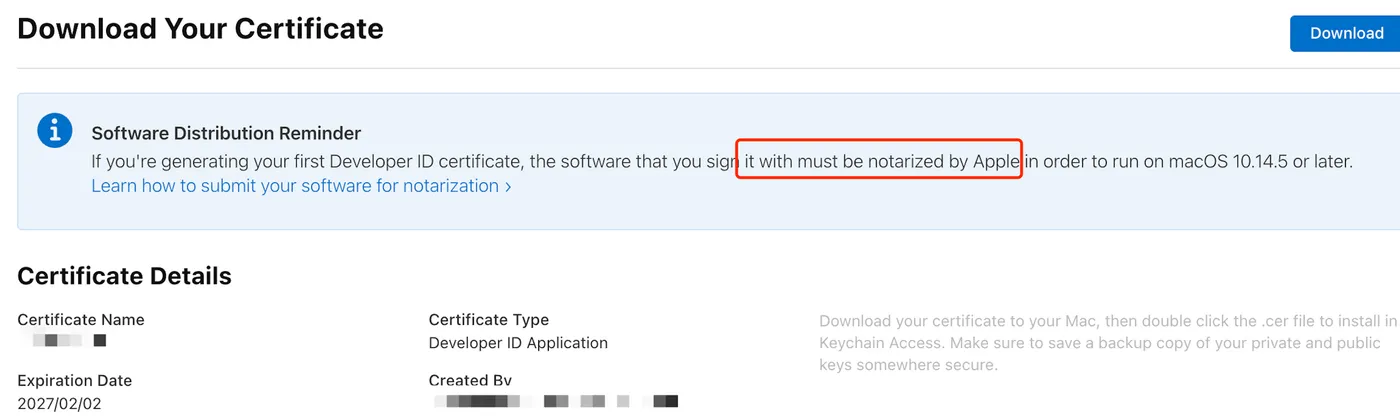
The certificate is now created. Click download to save it locally:
Importing and Viewing the Certificate
Double-click the downloaded certificate to import it:
You can see the imported certificate in Keychain:
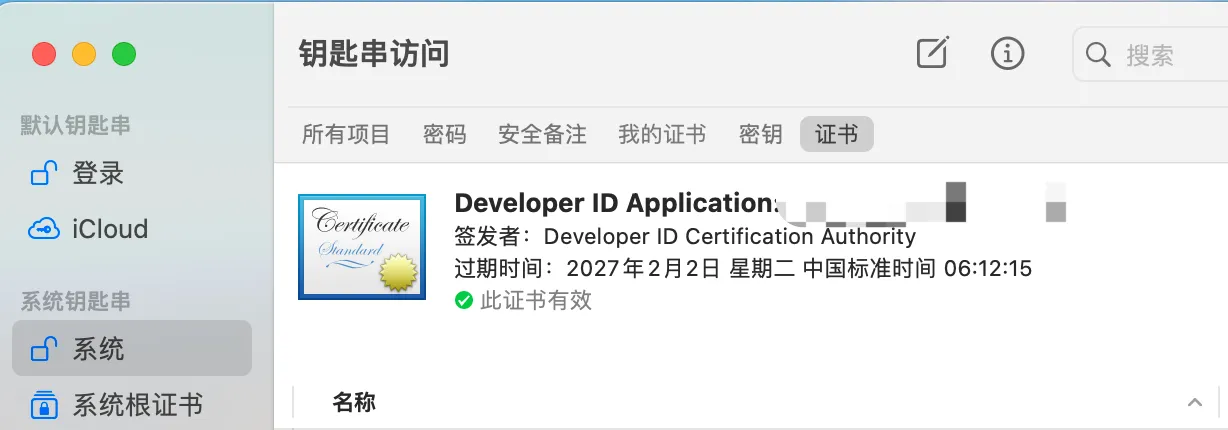
On my machine, double-clicking installs it to Keychain — System — Certificates.
You can also drag it to Keychain — Login — Certificates.
As long as the following command lists the certificate, you’re good:
security find-identity -v
Identifier
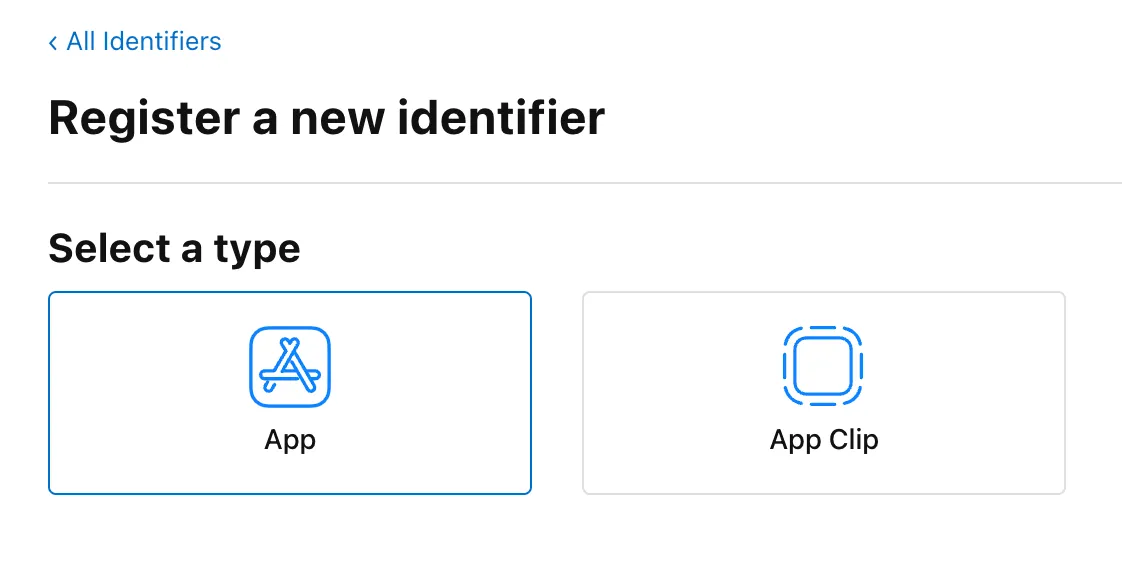
Next, you need to create an identifier for your app.
Create one at the following URL:
https://developer.apple.com/account/resources/identifiers/list/bundleId
Click the plus button and select the first type:

Then select the App type:
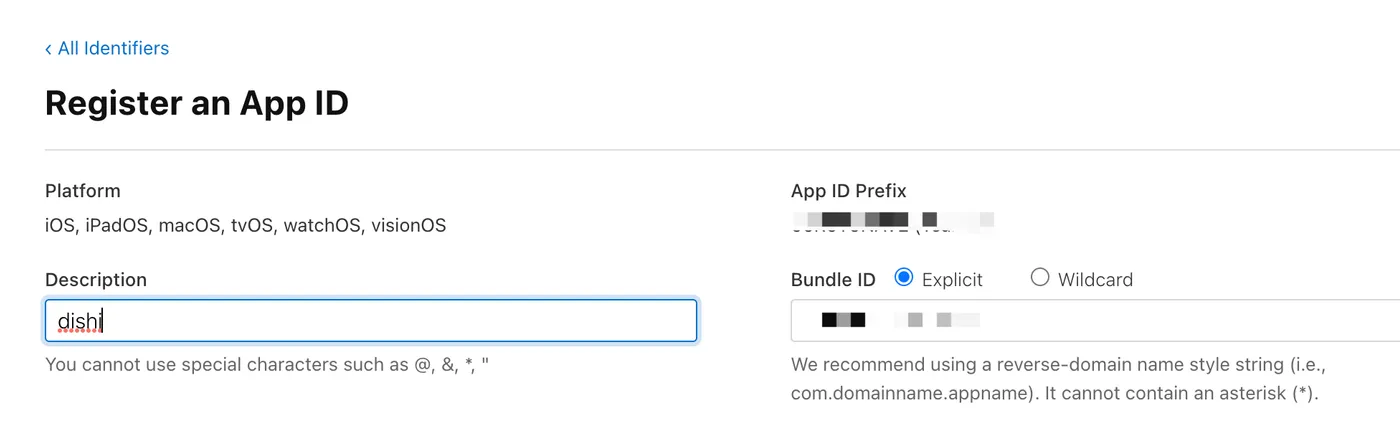
Fill in your bundle ID, something like com.xx.xx:
Updating the Config File
As mentioned, electron-packager is used for packaging.
There’s a corresponding config file. For details, see this article:
Electron in Practice: Mac Packaging
With the certificate and bundle ID ready, update the config file as follows:
// darwin
if (process.platform === 'darwin') {
  // app bundle id
  config.appBundleId = 'com.xx.xx';

  // sign
  config.osxSign = {
    identity: 'Developer ID Application: xx',
  };
}
After updating the config and re-packaging, the result:
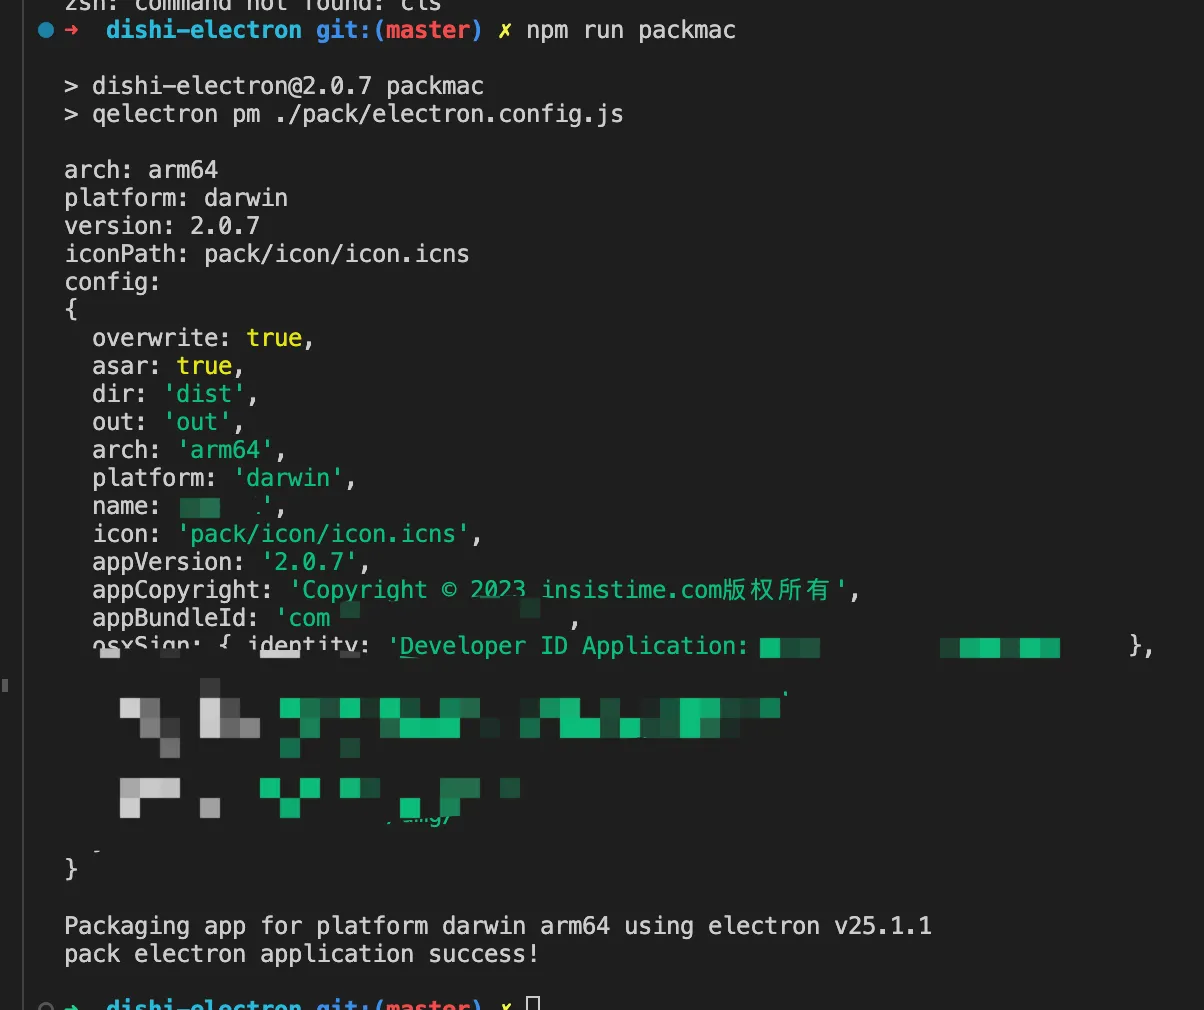
You can see the Mac app was packaged and signed successfully.
Notarization
When creating the certificate, there was a note —
to distribute an app, you need both signing and notarization.
Signing uses a local certificate to sign the files within the app.
Notarization uploads the app bundle to Apple’s servers for verification.
osxNotarize
electron-packager supports Mac notarization.
The corresponding property is osxNotarize: https://electron.github.io/electron-packager/main/interfaces/electronpackager.options.html#osxnotarize
The underlying npm package is electron-notarize: https://github.com/electron/notarize
Key configuration options:
tool: whether to use notarytool or altool for notarization — notarytool is recommended as altool will be deprecated soon
teamId: the content in parentheses in the certificate name
appleId: your Apple ID
appleIdPassword: an app-specific password for your Apple ID. See this article to generate one: https://support.apple.com/zh-cn/HT204397
Config File
Update the config file again:
// darwin
if (process.platform === 'darwin') {
  // app bundle id
  config.appBundleId = 'com.xx.xx';

  // sign
  config.osxSign = {
    identity: 'Developer ID Application: xx (xxx)',
  };

  // notarize
  config.osxNotarize = {
    tool: 'notarytool',
    teamId: 'xxx',
    appleId: 'xx',
    appleIdPassword: 'xx',
  };
}
Re-package, and the process will now include local signing and Apple server notarization.
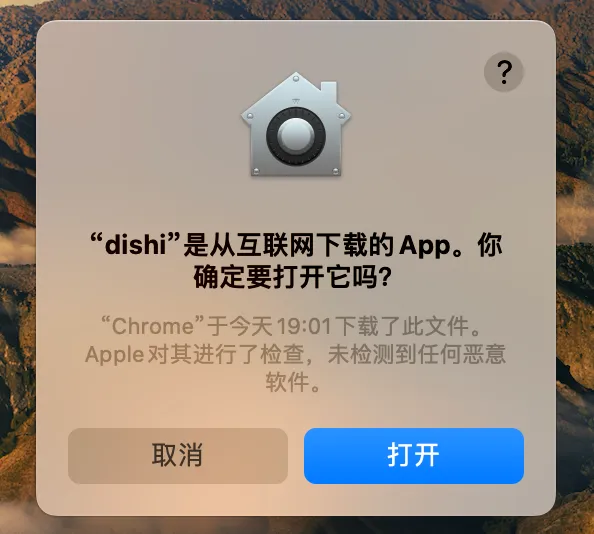
Result
If your Mac app has been signed and notarized,
the prompt users see when opening it for the first time looks like this:
qiao-electron-cli
Electron Mac packaging, DMG creation, signing, and notarization have been wrapped into an npm package — feel free to use it:
https://qiao-electron-cli.vincentqiao.com/#/
-
Mac — creating icns icons
-
Mac — building app bundles
-
Mac — building DMG installers
-
Mac — signing and notarization
Summary
-
Create a local CSR file
-
Use the local CSR to create a certificate on the Apple Developer website
-
Use the local certificate to sign the Mac app
-
Use an Apple ID app-specific password to notarize the local app
-
qiao-electron-cli: https://qiao-electron-cli.vincentqiao.com/#/
-
Source code for this article: https://github.com/uikoo9/dishi-monorepo/tree/mac-sign
-
Demo app (Mac M1): https://static-insistime.vincentqiao.com/21_dishi/dmg/dishi-2.0.9-arm64.dmg
-
Demo app (Mac Intel): https://static-insistime.vincentqiao.com/21_dishi/dmg/dishi-2.0.9-x64.dmg