Electron in Practice: Customizing Mac Menus

Preface
Previous articles covered developing an Electron app through to Mac packaging.
Related articles:
Electron in Practice: Local Database SQLite
Electron in Practice: Managing Electron Projects with Monorepo
Electron in Practice: Mac Packaging
Electron in Practice: Registering an Apple Developer Account
Electron in Practice: Mac App Signing and Notarization
Electron in Practice: Customizing DMG Installers
This article covers customizing Mac menus.
Default Mac Menu
When developing a Mac app with Electron,
if you don’t customize the Mac menu,
the default looks like this:
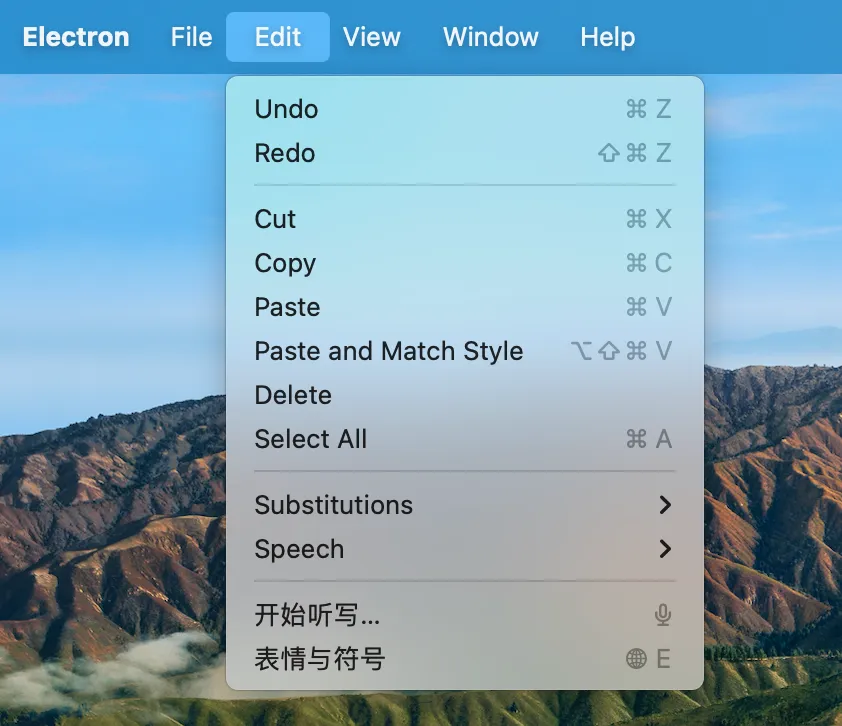
Menu
You can customize the Mac menu bar using Electron’s Menu API.
https://www.electronjs.org/zh/docs/latest/api/menu
The core code is as follows, where template is a menu template array:
const menu = Menu.buildFromTemplate(template);
Menu.setApplicationMenu(menu);
Using Built-in Roles
A common approach in menu templates is to use built-in roles.
Electron wraps common menu items and their click actions into roles:
[
  {
    label: 'Edit',
    submenu: [
      { role: 'undo' },
      { role: 'redo' },
      { type: 'separator' },
      { role: 'cut' },
      { role: 'copy' },
      { role: 'paste' },
    ],
  },
];
For example, the copy role above will perform a copy operation when clicked.
Using Custom Menu Items
In addition to built-in roles, you can define custom menu items:
[
  {
    role: 'help',
    submenu: [
      {
        label: 'Learn More',
        click: async () => {
          const { shell } = require('electron');
          await shell.openExternal('https://electronjs.org');
        },
      },
    ],
  },
];
Common Template
Here is a common template based on typical Chinese app menus:
[
  {
    label: 'app',
    submenu: [
      {
        label: 'About',
        role: 'about',
      },
      {
        type: 'separator',
      },
      {
        label: 'Hide',
        role: 'hide',
      },
      {
        label: 'Hide Others',
        role: 'hideOthers',
      },
      {
        type: 'separator',
      },
      {
        label: 'Quit',
        role: 'quit',
      },
    ],
  },
  {
    label: 'Edit',
    submenu: [
      {
        label: 'Undo',
        role: 'undo',
      },
      {
        label: 'Redo',
        role: 'redo',
      },
      {
        type: 'separator',
      },
      {
        label: 'Cut',
        role: 'cut',
      },
      {
        label: 'Copy',
        role: 'copy',
      },
      {
        label: 'Paste',
        role: 'paste',
      },
      {
        label: 'Delete',
        role: 'delete',
      },
      {
        label: 'Select All',
        role: 'selectAll',
      },
    ],
  },
  {
    label: 'Window',
    submenu: [
      {
        label: 'Minimize',
        role: 'minimize',
      },
      {
        label: 'Close',
        role: 'close',
      },
      {
        label: 'Toggle Fullscreen',
        role: 'togglefullscreen',
      },
    ],
  },
  {
    label: 'Debug',
    submenu: [
      {
        label: 'DevTools',
        role: 'toggleDevTools',
      },
    ],
  },
];
Result
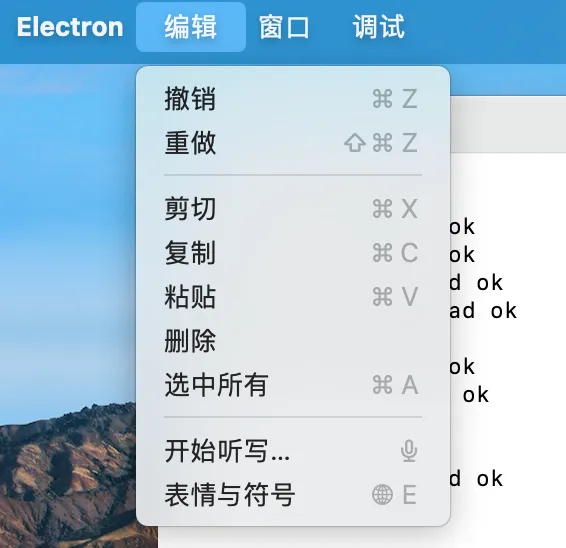
qiao-x-menu
A library for working with Electron menus has been created — feel free to use it:
https://code.insistime.com/#/qiao-x-menu
The menu customization above can be simplified to:
import { setApplicationMenu } from 'qiao-x-menu';

setApplicationMenu(menus);